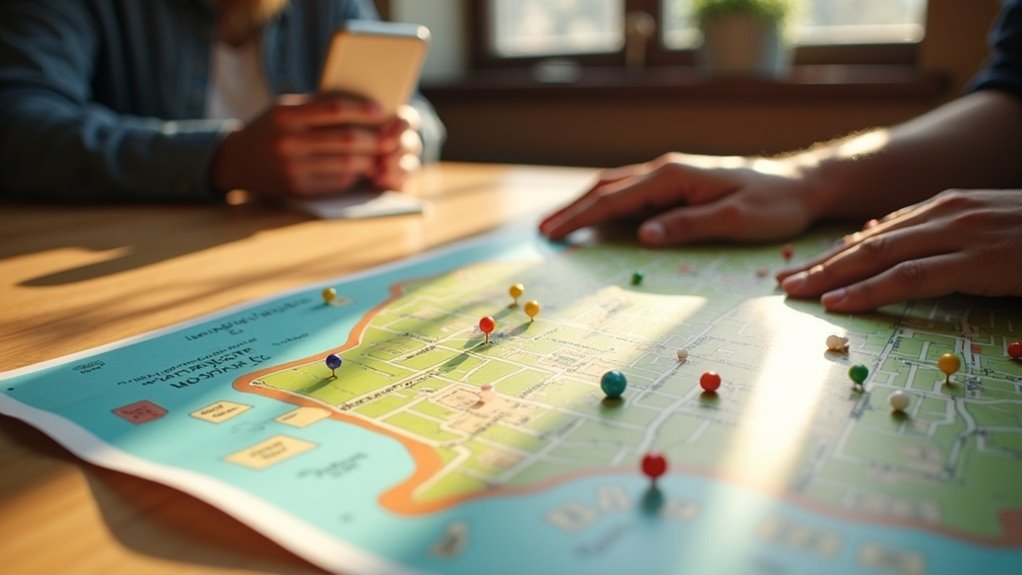
To share neighborhood maps safely within the context of survivalism and prepping, you should first decide between public or private sharing options tailored to your community’s needs. For public sharing, ensure all layers are configured for visibility, allowing everyone in your prepping group to access essential information. If you choose private sharing, set specific permissions and invite only trusted individuals who share your survival goals. Regularly manage user roles and access to sensitive information to maintain security. Custom links can enhance usability, fostering collaboration on survival strategies, resource sharing, and emergency planning. Explore more about secure sharing practices to protect your data effectively and strengthen your community’s preparedness.
Key Takeaways
- Choose between public and private sharing based on your group’s survival needs to ensure appropriate visibility and security.
- Regularly review and update user permissions to maintain control over who can access your neighborhood maps, ensuring that only those committed to survivalism have access.
- Use private groups to limit map access to trusted individuals involved in shared preparedness goals, fostering a secure environment for collaboration.
- Confirm that all layers of the map are shared correctly to maintain complete visibility for intended users, which is crucial for effective planning and coordination during emergencies.
- Educate community members about secure sharing practices to protect sensitive information and privacy, as safeguarding your plans is essential for successful survival strategies.
Understanding the Sharing Options in Map Viewer
When you explore the sharing options in Map Viewer, it’s essential to understand the distinctions between public and private sharing, especially when it comes to survivalism and prepping.
Public sharing allows anyone access to your maps, promoting community collaboration and knowledge sharing about survival strategies and resources. In contrast, private sharing limits visibility to specific individuals within your prepping group, ensuring sensitive information remains confidential.
When you share a survival map, be sure to configure permissions and verify that all layers are shared appropriately. Custom links give you the ability to adjust the map’s display settings, improving its usability for your audience.
Steps for Public Sharing of Neighborhood Maps
To effectively share your neighborhood map with the community, begin by selecting the “Share map” option and choosing “Make public.” This action generates a URL that anyone can access, promoting collaboration and resource sharing among residents focused on local survival strategies.
Ensure that all layers within the map are also publicly shared; otherwise, viewers won’t see the complete picture of preparedness resources. Check the sharing status of each layer in the Overview tab. A warning box will prompt you to confirm your decision before proceeding.
Once confirmed, use the copy button to easily share the URL across various communication platforms to engage your neighbors in enhancing community resilience and survival readiness.
Steps for Private Sharing of Neighborhood Maps
When sharing neighborhood maps privately within the context of survivalism and prepping, understanding user permissions is essential to maintaining security.
You’ll want to define who can view or edit the map by specifying permissions for each user you invite, ensuring that only trusted individuals have access to sensitive information.
Utilizing private groups can further enhance this control, allowing you to limit access to those who share your survivalist goals and values, thereby safeguarding your community’s preparedness plans.
Define User Permissions
Sharing vital survival maps and resources privately requires a clear understanding of user permissions to ensure data security and proper access control.
Start by accessing the share menu and entering the user’s email, ensuring they’ve an ArcGIS Online account. Choose the appropriate permissions—either ‘view only’ or ‘edit’—to define their access level based on their role in your prepping community.
Remember, any shared datasets will be visible to the recipient, so they’ll know precisely what resources they can access. After adjusting permissions, confirm by selecting “ok” to finalize the process.
You can modify user permissions at any time, allowing for ongoing control over access and collaboration within your survivalist group.
Utilize Private Groups
Utilizing Private Groups in ArcGIS Online is essential for enhancing the security of your survival maps while fostering collaboration among trusted community members.
When sharing a map, select the “Share” option and choose the appropriate Private Group, ensuring that only group members have access to critical survival information.
Remember to share all layers within the map with this group to maintain visibility and utility.
You can manage user permissions by adjusting roles, specifying who can view or edit the shared maps.
Regularly review and update group membership to confirm that only authorized users have access to sensitive survival data.
This approach promotes trust and security within your survivalist community.
Managing User Permissions Effectively
How can you ensure the right individuals have access to your survival resources? Managing user permissions is essential. In your survival network, permissions can be adjusted at any time, allowing you to customize access for specific members.
| Action | Description |
|---|---|
| Change Role | Modify a member’s role from observer to contributor. |
| Revoke Access | Click the remove icon next to a member’s name. |
| Confirm Changes | Click “ok” to save new access settings. |
| Assure Security | Limit access to sensitive survival data to authorized individuals. |
This approach guarantees data security while enhancing community collaboration in preparedness efforts.
Creating Custom Links for Enhanced Sharing
Creating custom links for your survival maps not only streamlines the sharing process but also enhances how your community accesses crucial preparedness information.
In ArcGIS Online, you can easily create these links by selecting “Share map” and then “Create custom link.” This feature lets you define the map extent, choose Light or Dark mode, and select specific survival elements to display, ensuring a tailored experience for viewers.
Additionally, preserving the map scale guarantees recipients see the intended detail, which is vital for effective planning.
With a shortened URL option, sharing becomes more convenient, allowing your community to engage with the most relevant survival features and information effortlessly.
Considerations for Secure Map Sharing
While custom links simplify the sharing of survival maps, ensuring that this information remains secure is crucial in the context of survivalism and prepping.
To protect your maps, consider the following:
Consider sharing your maps cautiously and managing group permissions to keep your survival strategies secure.
- Share layers only with your trusted survival community to maintain complete visibility.
- Utilize secure Private Groups in ArcGIS Online to restrict access to sensitive survival data.
- Carefully set user permissions, distinguishing between view-only and edit options to prevent unauthorized changes.
- Regularly review group memberships to ensure that only authorized individuals have access, keeping your survival strategies protected.
Best Practices for Protecting Sensitive Information
To safeguard sensitive information related to survivalism and prepping, it’s crucial to adopt best practices that emphasize data security and community trust. Consider the following guidelines:
| Practice | Description | Benefits |
|---|---|---|
| Set Appropriate Permissions | Limit access to survival strategies and resources to trusted individuals | Enhances security of critical information |
| Use Private Groups | Share survival plans and resources through Private Groups on secure platforms | Controls who can see sensitive content |
| Regularly Review Permissions | Periodically assess who has access to vital prepping information | Prevents unauthorized access |
| Anonymize Sensitive Data | Use generalized representations for sensitive survival data | Protects individual privacy |
Educating your community about secure sharing practices will help them comprehend the importance of data protection in the context of survivalism and prepping.