To program radios with CHIRP offline for survival and prepping purposes, start by downloading and installing the CHIRP software along with any necessary drivers. Ensure that your radio is recognized by your system, which is crucial for effective communication in emergency situations. Create a new configuration file tailored to your survival needs, then manually input essential frequencies and configure your channel settings for optimal preparedness. Save this file for quick access when needed. Finally, connect your radio and upload the settings to ensure you’re ready for any scenario. If you run into issues, check your connections and settings, and refer to troubleshooting tips tailored for prepping. Continue to explore more detailed steps and solutions for a streamlined programming experience that keeps you prepared for any situation.
Key Takeaways
- Download CHIRP software and drivers in advance, ensuring compatibility with your operating system for offline use, as it’s essential for emergency communications.
- Create and save a .chirp file with your desired frequencies and settings before disconnecting from the internet, so you remain prepared during unforeseen events.
- Import existing frequency data into CHIRP while offline, adjusting parameters to match your radio model, which is crucial for effective communication in survival situations.
- Upload the configured settings to your radio using a USB cable, ensuring the correct COM port is selected to maintain operational readiness.
- Regularly save your progress offline to keep access to your configuration, ensuring you’re always ready for any crisis that may arise.
Downloading CHIRP Software
To get started with programming your radio for emergency communications, you’ll first need to download the CHIRP software. Conduct a Google search for “CHIRP” and select the official link to avoid misleading popups or additional downloads.
The download process is automatic and detects your operating system, but you’ll need to search for CHIRP in your system’s search bar since no desktop shortcut is created.
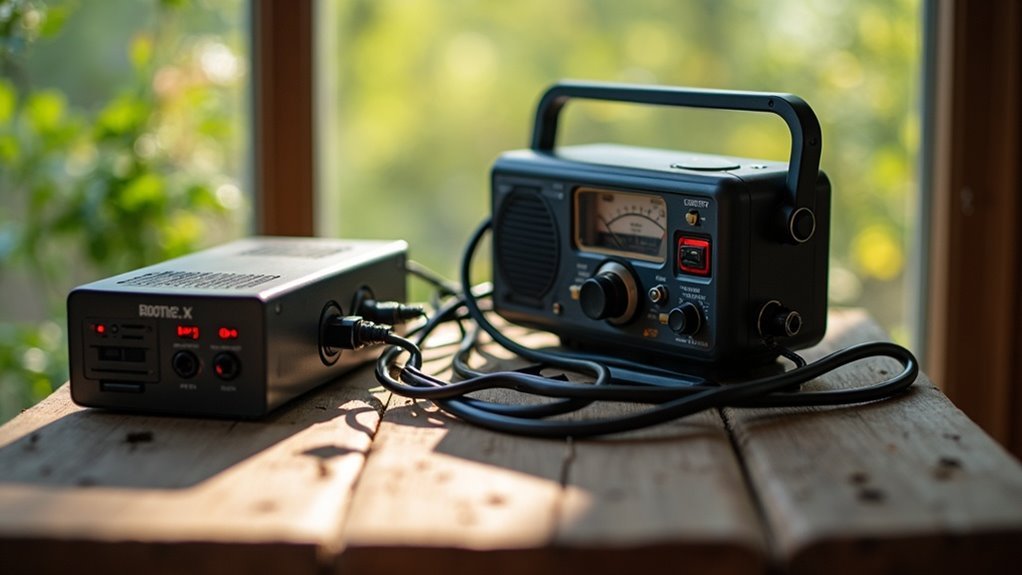
Make sure to download the appropriate Prolific driver from the Reives site for the R79 radio to ensure reliable communication during critical situations. After downloading, install the driver and confirm that Windows recognizes it to guarantee successful operation with your radio via USB cable.
This is an essential step in preparing your communication tools for any emergency scenario.
Installing Necessary Drivers
To get started with your survival radio setup, you’ll need to download the Prolific driver from the manufacturer’s website, particularly if you’re using models like the Reives R79.
After installation, ensure that the driver is recognized by your Windows operating system and check the assigned COM port in Device Manager.
This step is crucial for troubleshooting any potential connection issues, which is vital for effective communication during emergencies or in survival situations.
Downloading Prolific Driver
Downloading the Prolific driver is crucial for ensuring that your R79 radio operates effectively with your computer, especially in survival situations where reliable communication is key.
Begin by visiting the Reives site and navigating to the firmware and software section dedicated to the R79 product. It’s important to select the correct version of the Prolific driver that corresponds with your operating system to ensure compatibility.
After downloading the driver, run the installation file and follow the on-screen instructions to complete the setup.
Once the installation is complete, check the Device Manager for any errors, confirming that your system recognizes the driver.
Finally, restart your computer to fully integrate the driver before connecting your radio, ensuring that you’re prepared for any emergencies.
Verifying Driver Installation
Verifying the installation of the Prolific driver is essential to ensure that your R79 radio can effectively communicate with your computer, which is crucial for preparedness and survival communication strategies.
Start by opening Device Manager in Windows and checking under “Ports (COM & LPT)” for the driver installation, making sure there are no warning symbols indicating issues. After downloading and installing the driver from the Reives website, restart your computer if prompted to ensure proper installation.
Connect your radio via USB and test the connection in CHIRP by selecting the appropriate COM port; this will help you confirm that your communication setup is operational.
If the driver doesn’t appear or functions incorrectly, uninstall it from Device Manager and reinstall the latest version from the Reives site.
Also, verify that your USB cable is compatible and functional, as having reliable equipment is vital in any survival situation.
Creating a New CHIRP File
To create a new CHIRP file for your survival communication setup, launch the application and select “File,” then “New” to start with a blank configuration.
You can import existing frequencies if you have them, or enter channels manually, ensuring you set the correct parameters for each to prepare for any emergency situation.
Once you’re done, save your file by clicking “File” and choosing “Save As” to keep your communications organized and ready for use in any survival scenario.
Setting Up New File
Creating a new CHIRP file is a straightforward process that sets the foundation for programming your radio, which can be essential in survival situations. Follow these steps to get started:
- Launch CHIRP, select “File” from the menu, and choose “New” to create a blank configuration.
- From the “Radio” menu, select the correct model to ensure compatibility with your device, as reliable communication is critical during emergencies.
- Enter channel frequencies and settings, confirming each cell is clear before inputting data.
Don’t forget to set appropriate channel parameters like modulation type and channel spacing, which can be vital for effective communication in various scenarios.
Once you’ve configured all channels, save your work by clicking “File” and then “Save As” with a suitable name for future reference, ensuring you can access your communication setup when it matters most.
Importing Existing Frequencies
Importing existing frequencies into CHIRP can greatly enhance your communication setup for survival situations.
To create a new CHIRP file, open CHIRP, select “File,” and then “New.” Next, click on “File” again, choose “Import,” and select the format of your saved frequency data, such as CSV or CHIRP.
Ensure the imported frequencies correspond with your radio model’s channel parameters, including bandwidth settings and spacing, to maintain effective communication in emergencies.
After importing, review the channel names and settings for clarity, ensuring that you can quickly identify critical channels during a crisis.
Finally, save your new configuration by selecting “File” and then “Save As,” giving it a recognizable name for easy access when you need to program your radio in survival scenarios.
Saving and Exporting Settings
Once you’ve imported your existing frequencies into CHIRP and configured your channels, it’s crucial to save and export those settings to ensure they’re readily accessible for future survival scenarios.
Follow these steps:
- Navigate to the “File” menu and select “Save” or “Save As” to create a new CHIRP file. Be sure to choose a clear file name and a location that you can easily remember, as this will be vital in a prepping situation.
- To share or back up your settings for emergencies, select “File” and then “Export” to save them in a compatible format that can be accessed by others or on different devices.
- Remember, CHIRP files use the “.chirp” extension, which includes all programmed channels and settings, making them easy to retrieve and manage when every second counts in a survival situation.
Manually Inputting Frequencies
To manually input frequencies in CHIRP for your survival communication needs, start by launching the software and selecting your radio model from the drop-down menu in the main interface.
Click on the empty channel row where you want to enter a frequency and type the frequency value directly into the “Frequency” column. Set channel parameters by selecting options from the adjacent columns, such as modulation type (e.g., NFM) and channel spacing (typically 12.5 kHz).
For better organization and to enhance your preparedness, consider naming each channel with relevant labels in the “Name” column for easier identification during emergencies.
After entering all frequencies and settings, be sure to save your changes and upload the configuration to your radio to ensure you’re ready for any situation.
Configuring Channel Settings
Configuring channel settings in CHIRP is crucial for effective communication during survival situations. Follow these steps to ensure your radio is ready for any emergency:
- Copy and paste PMR frequencies into CHIRP, ensuring each cell box is clear for precise input.
- Set channel parameters to Narrowband FM (NFM) and adjust the frequency spacing to 12.5 kHz to comply with regulations, ensuring reliable transmission.
- Name each channel based on its intended survival use, such as “Emergency,” “Hunting,” or “Family,” to facilitate quick access in urgent situations.
After inputting settings, conduct a thorough review for accuracy.
Once uploaded to your radio, confirm that all 16 PMR channels are correctly stored and sequentially numbered from 1 to 16, enabling efficient operation when it matters most.
Saving Your CHIRP File
Before you finish programming your channels in CHIRP, it’s essential to save your work to avoid losing any progress, especially in situations where preparedness matters.
Navigate to the “File” menu in the top left corner and select “Save” or “Save As.” Choose a specific location on your device that you can easily access during an emergency and name your file descriptively, indicating the radio model and frequency settings for easy identification.
Confirm you save in the .chirp format to maintain compatibility when reloading or sharing the file. Regularly saving your work can prevent data loss from unexpected closures, which is critical when every detail counts.
Consider creating backup copies on an external drive or cloud storage for added security and accessibility, ensuring you have vital communication tools ready when you need them most.
Uploading Programming to the Radio
Once you’ve set up your communication channels in CHIRP, uploading the programming to your radio is a vital step for effective survival communication.
Follow these steps to ensure a successful upload:
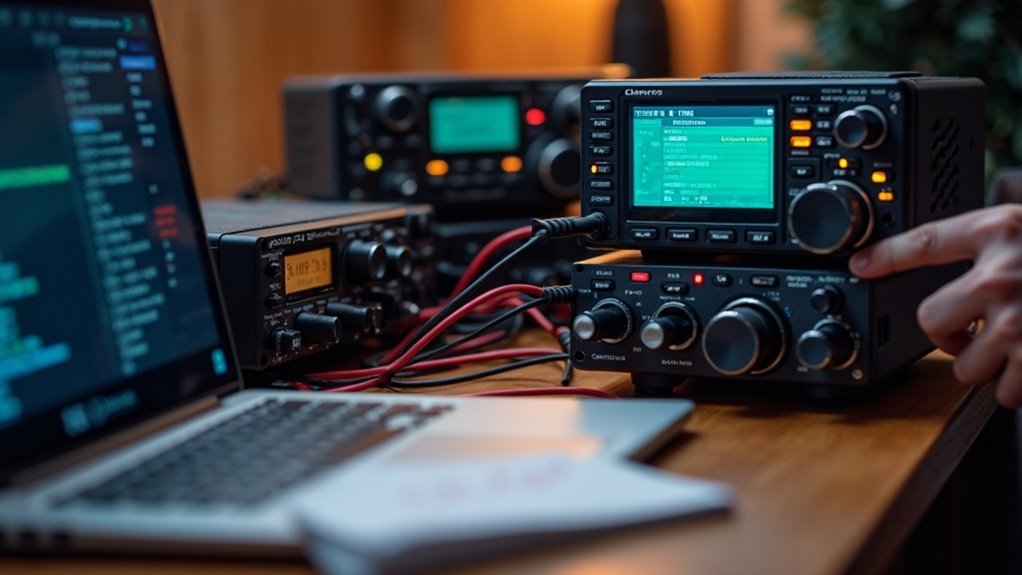
- Confirm your radio is connected via the appropriate USB cable and select the correct COM port in CHIRP to establish a reliable connection.
- Click on “Radio” in the menu, then choose “Upload to Radio” to transfer your vital communication configurations.
- After the upload is complete, safely disconnect the radio and power it on to access your pre-programmed channels.
Verify the programmed channels by switching to channel mode on the radio.
Ensure that everything is correctly numbered and configured to provide optimal functionality during emergencies.
This preparation is crucial for maintaining effective communication in any survival scenario.
Troubleshooting Common Issues
When you encounter issues while prepping your survival gear, effective troubleshooting can save you time and frustration. Start by verifying that your equipment is in good working condition and compatible with your needs. If you experience issues with your communication devices, check the batteries and connections. Ensure that you have the proper tools and supplies for repairs. If you’re unable to access important resources, confirm that your plans are well-organized and that you have backup options in place. Finally, take a moment to reassess your strategy and make necessary adjustments to overcome any persistent challenges.
| Issue | Solution |
|---|---|
| Equipment malfunction | Check condition and compatibility |
| Communication issues | Verify batteries and connections |
| Resource accessibility | Organize plans and establish backups |
| Strategy adjustments | Reassess and modify as needed |
| Persistent challenges | Take a break and reevaluate |