To choose indoor radio antennas for survivalism and prepping, start by assessing your specific communication needs, such as frequency compatibility and range, which can be crucial during emergencies. Select between antenna types like discone, J-Pole, or directional antennas based on your requirements for reliable communication in various scenarios. Ensure the gain and coverage are suitable, taking into account any obstructions that could impact signal quality, especially in a survival situation. Proper installation is essential; position antennas high and away from metal objects to minimize interference. Lastly, test and optimize performance to ensure effective communication when it matters most. Explore additional resources to further enhance your preparedness setup.
Key Takeaways
- Assess your communication needs to determine whether VHF or UHF antennas are more suitable for your survival communication plans, considering frequency compatibility and range requirements for emergency situations.
- Choose an appropriate antenna type for your prepping scenarios, such as a discone for broad emergency communications or a Yagi-Uda for long-range signaling during critical situations.
- Optimize installation by placing antennas in elevated locations like attics or ceilings to reduce obstructions, ensuring reliable signal reception during emergencies when every communication counts.
- Evaluate antenna gain carefully; while higher gain antennas can extend your communication range, they may narrow the coverage area. Choose based on the distances you need to communicate in a survival context.
- Regularly test and adjust the placement and orientation of your antennas to maintain optimal signal strength and quality, ensuring that you can stay connected and informed during any crisis.
Assessing Your Communication Requirements
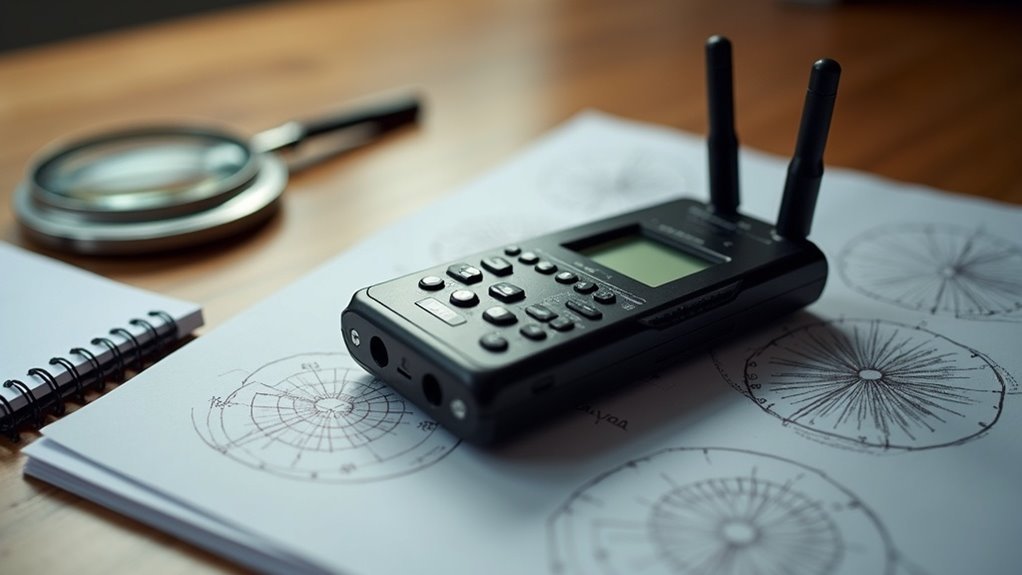
How do you determine the right radio antenna for your indoor communication needs in a survival or prepping scenario?
Start by clearly defining your communication requirements, such as the specific type of radio use, like GMRS (General Mobile Radio Service) or amateur radio, which can be crucial during emergencies.
Clearly define your communication needs, such as GMRS or amateur radio, to ensure effective emergency communication.
Next, identify the frequency range essential for your communication—VHF (30-300 MHz) or UHF (300 MHz-3 GHz)—to ensure compatibility with your selected antenna.
Consider the required communication range based on your environment; urban settings may necessitate antennas with shorter range capabilities, while rural areas might require longer ranges.
Additionally, assess any obstructions in your indoor space, such as steel framing or thick walls, that could impact signal propagation and overall antenna performance, especially when reliable communication could be a matter of survival.
Understanding Antenna Types for Indoor Use
When selecting an indoor antenna for survival and prepping purposes, understanding the design and functionality of various types is vital for optimizing performance in critical situations.
Evaluating mounting options and techniques is essential to ensure the antenna operates effectively in your specific environment, especially in scenarios where reliable communication could be a matter of safety.
The right choice can significantly enhance signal reception and overall communication reliability indoors, which is crucial for staying informed and connected during emergencies.
Antenna Design and Functionality
Understanding the various types of indoor antennas is crucial for optimizing your communication setup in survival situations, as each design offers unique advantages tailored to specific needs.
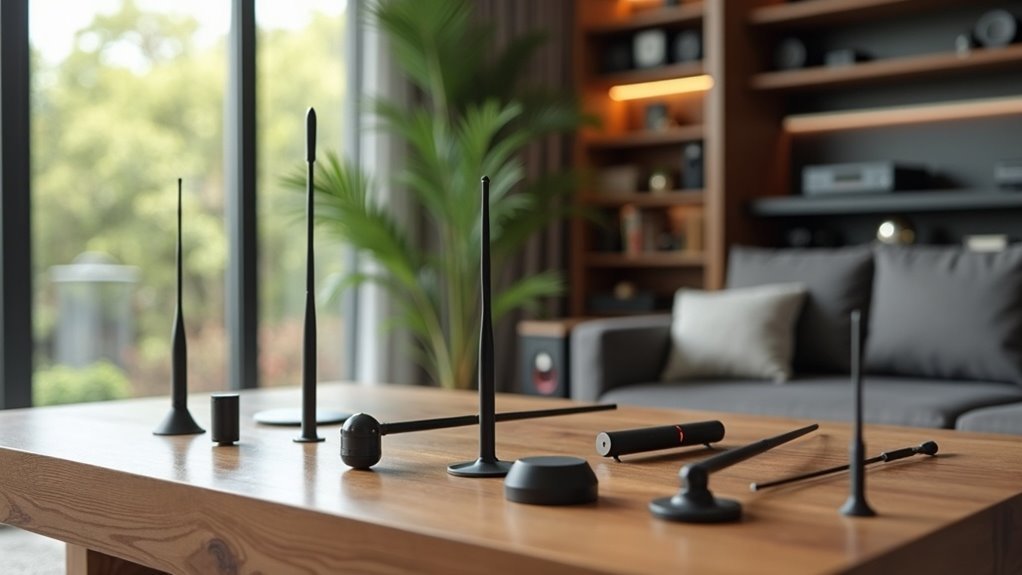
Consider these key designs:
- Discone Antennas: Ideal for broad band reception, allowing you to monitor multiple frequencies, which can be vital in emergency scenarios.
- J-Pole Antennas: Best for specific frequencies like GMRS, essential for reliable communication with local networks during crises.
- Directional Antennas (Yagi-Uda): Enhance signal strength by focusing in one direction, perfect for long-range communications when you need to reach distant locations.
- Slim Jim and Wire Dipoles: Flexible and customizable for various frequency bands, making them practical for adapting to changing communication needs in survival situations.
- Environmental Factors: Performance can be influenced by building materials and height, which is important to consider when setting up your antenna for optimal reception in any emergency setting.
Mounting Options and Techniques
Selecting the right mounting options and techniques for indoor antennas can significantly enhance your communication capabilities in survival situations. For optimal signal reception, consider placing antennas in attics or on window sills to avoid obstructions that may hinder connectivity during emergencies.
Hanging antennas from ceilings can help improve reception by minimizing interference, while utilizing curtain rods offers a practical installation method. Mag mount antennas provide the flexibility to position them on surfaces like bookcases, allowing for better height and signal penetration when you need to stay informed.
Directional antennas, such as Yagi-Uda, are particularly effective for targeting specific communication sources, which can be crucial in critical situations.
Always avoid placing antennas near metal objects and select locations with minimal obstructions to maximize the performance of your indoor antenna setup for reliable communication in your preparedness efforts.
Performance in Indoor Environments
While indoor environments can pose significant challenges for communication during emergencies, selecting the right type of antenna can greatly enhance your preparedness.
Consider the following options to improve your signal strength and ensure reliable communication in critical situations:
- Whip antennas (7-8 inches) for short-range, omnidirectional coverage, ideal for immediate communication needs.
- Directional antennas like Yagi-Uda for focused, point-to-point communication, useful for reaching distant signals during a crisis.
- Hanging antennas from windows or ceilings to minimize interference and maximize signal clarity.
- Testing various placements to find the optimal setup for reception, ensuring you’re always connected when it matters most.
- Positioning antennas higher to improve signal propagation, which can be crucial in emergencies when every bit of communication counts.
Key Specifications to Consider
When selecting an indoor radio antenna for survivalism and prepping, it’s crucial to prioritize frequency compatibility and antenna gain factors.
The antenna’s frequency range must align with your radio’s operational frequencies to ensure reliable communication during emergencies.
Additionally, consider the gain, as it directly impacts your coverage area and signal clarity, which can be vital for staying informed and connected in critical situations.
Frequency Compatibility
How can you ensure your radio antenna operates effectively indoors for survival and prepping communications?
Guaranteeing frequency compatibility is crucial for optimal performance and minimizing signal loss, especially in emergency situations. Here are some key factors to consider when selecting your antenna:
- Determine if you need VHF (30–300 MHz) or UHF (300 MHz–3 GHz) compatibility based on your communication requirements in a survival scenario.
- Explore dual-band antennas for flexibility across multiple bands, allowing you to stay connected regardless of the situation.
- Match the antenna impedance (typically 50 ohms) to your radio system to enhance efficiency.
- Choose the correct polarization (vertical or horizontal) to align with the transmitted signal, ensuring reliable communication.
- Assess your communication needs and environment, such as potential obstructions or interference, to select the best antenna for your prepping and survival strategies.
Antenna Gain Factors
Selecting the right antenna gain factors is crucial for optimizing indoor radio communications in survival situations. In the realm of survivalism and prepping, effective communication can be a lifeline. Antenna gain, measured in dBi, significantly influences your system’s performance by directing radio frequency energy where it’s needed most. Consider the following table to understand the different gain options that can enhance your preparedness efforts:
| Gain Type | Characteristics |
|---|---|
| Low-Gain (0–3 dBi) | Omnidirectional, ideal for short-range coverage in confined spaces |
| High-Gain (5+ dBi) | Directional, perfect for long-range communication in outdoor scenarios |
| Polarization | Must match the transmitting/receiving radios for optimal efficiency |
| Impedance | Typically 50 ohms for compatibility with most survival communication gear |
| Signal Reflection | Prevented with proper matching to ensure clear communication |
Your choice of antenna gain factors affects signal strength, range, and the overall reliability of your communication system, making it a key consideration in your survival plan.
Ensuring Frequency Compatibility
Ensuring frequency compatibility is crucial for effective indoor communication, particularly in survival situations where reliable communication can be a matter of safety. A mismatched antenna can lead to significant signal loss, which is undesirable when prepping for emergencies.
To achieve optimal performance in your communication setup, consider the following factors:
- Ensure the antenna is specifically designed for your radio’s frequency range to maximize effectiveness.
- Confirm that the antenna’s impedance aligns with your radio’s output, typically 50 ohms, to avoid signal issues.
- Check if the antenna supports dual-band capabilities for both VHF and UHF frequencies, providing versatility in communication.
- Choose antennas that are finely tuned for your intended frequencies to prevent signal degradation that could compromise your preparedness.
- Utilize a frequency compatibility chart to accurately match your radio’s specifications with suitable antennas.
Adhering to these guidelines will enhance your antenna’s capability to maintain clear communication indoors, which is vital during any survival scenario.
Evaluating Antenna Gain and Coverage
When evaluating antenna gain and coverage in a survival or prepping context, it’s essential to understand how these factors can affect your communication setup during emergencies.
Antenna gain, measured in dBi, indicates how effectively an antenna focuses energy; higher gain (5 dBi or more) is crucial for long-range communication, which can be vital in survival situations where distance matters. On the other hand, low-gain antennas (0-3 dBi) provide 360-degree coverage, making them ideal for establishing communication in close-range scenarios, such as coordinating with your group in a bug-out location.
Antenna gain is vital for communication; higher gain enhances long-range signals, while lower gain offers comprehensive coverage for close-range coordination.
Your choice of antenna directly influences your coverage area: while high-gain antennas can extend your communication range, they also narrow the coverage area, necessitating precise alignment. In survival scenarios, this could mean the difference between staying connected with your team or losing contact.
Additionally, be mindful of environmental factors such as obstructions (trees, buildings) and building materials, as these can significantly impact signal strength and reliability.
Regular signal strength testing and adjustments are crucial to optimize antenna gain and ensure dependable communication, especially in critical situations where every message counts. Prepare yourself by understanding these concepts to enhance your survival communication strategy.
Installation Tips for Indoor Antennas
Understanding antenna gain and coverage is essential for effective indoor antenna installation, especially in preparedness situations.
Follow these tips to enhance your signal strength, which can be critical in emergencies:
- Use non-conductive materials, like fishing line, to avoid interference from metal objects that could hinder communication during critical times.
- Assess your attic’s structural conditions, including roof materials and insulation, as they can affect signal reception when trying to stay informed.
- Secure antennas to existing structures, such as curtain rods or ceiling mounts, to elevate them for better signal capture in your living space.
- Test various locations to identify the optimal position for your indoor antennas, ensuring you have reliable access to information in any situation.
- Regularly adjust the antenna’s orientation and height based on performance feedback to maintain the best possible reception.
Implementing these strategies will help you maximize communication quality and ensure you’re well-prepared in times of need.
Testing and Optimizing Antenna Performance
To achieve optimal indoor antenna performance for your survival communication needs, it’s essential to systematically test and adjust your setup based on real-time feedback.
Begin by utilizing a handheld radio or scanner to evaluate signal strength in various locations within your home or retreat, carefully noting where reception is the best. Monitor the signal quality using your radio’s built-in meter or an external strength meter to assess different antenna configurations.
Experiment with the orientation and height of your antenna, as these adjustments can significantly affect performance, especially in emergency situations where reliable communication is critical.
Additionally, invest in low-loss coaxial cable for your connections, striving for the shortest length possible to minimize signal degradation. Document your findings and make incremental adjustments to optimize reception as needed, which may include switching to higher-gain models that can better penetrate obstacles or extend range.
This preparation will ensure you’re ready to communicate effectively when it matters most.