To build a pedal-powered generator for your survivalist and prepping needs, start with a used bicycle and a treadmill motor. Secure the motor to a sturdy wooden platform, ensuring it’s aligned with the bike wheel using a V-belt for optimal efficiency. Connect the motor to a reliable battery through a diode to prevent reverse current, safeguarding your energy storage. Incorporate a solar charge controller to effectively manage the energy flow, targeting a voltage between 13 to 14.5 volts for maximum effectiveness. By using proper gear ratios and ensuring precise alignment, you can minimize energy loss. Equip yourself with essential tips to enhance your energy independence and resilience in any situation.
Key Takeaways
- Repurpose a used bicycle along with a treadmill motor to construct a reliable pedal-powered generator, essential for off-grid living and emergency preparedness.
- Create a robust wooden base to elevate the bike, ensuring it remains stable while you generate power, which is vital for maintaining energy independence during crises.
- Integrate a solar charge controller and a battery for efficient energy storage, and be sure to include a diode to prevent reverse current flow, safeguarding your system from potential damage.
- Add a power inverter rated for at least 200 watts to convert the generated energy into usable power for your household devices, an important step for self-sufficiency.
- Regularly check the output voltage with a multimeter to ensure it remains within the optimal range of 13 to 14.5 volts, maximizing the efficiency of your pedal-powered generator for reliable energy in any situation.
Overview of Pedal-Powered Generators
When you pedal on a stationary bike connected to a generator, you’re not just getting exercise; you’re also preparing for self-sufficiency. This pedal-powered generator transforms the mechanical energy from your pedaling into electrical energy using a Permanent Magnet DC motor, often repurposed from old treadmills.
As you cycle, the movement of copper wire within magnets generates energy, akin to renewable sources like water or wind, which is crucial for off-grid living. With a bicycle trainer stand, you can charge batteries for essential devices, achieving around 100 watts of output.
This system acts as a sustainable power source, enhancing your preparedness and resilience in the face of potential energy shortages or disruptions. Embracing this technology supports both environmental responsibility and your survival strategy at home.
Essential Materials and Tools
To build your pedal-powered generator effectively for survival and prepping purposes, gather the essential materials and tools beforehand.
You’ll need:
- A used bicycle, preferably single-speed or fixed-gear, as your main structure for reliable performance
- A treadmill motor (12V or higher) to generate power, ensuring it’s robust for long-term use
- A sturdy wooden board (2×4) to securely mount all components and withstand various conditions
- A v-belt to connect the motor to the bicycle, ensuring efficient power transfer
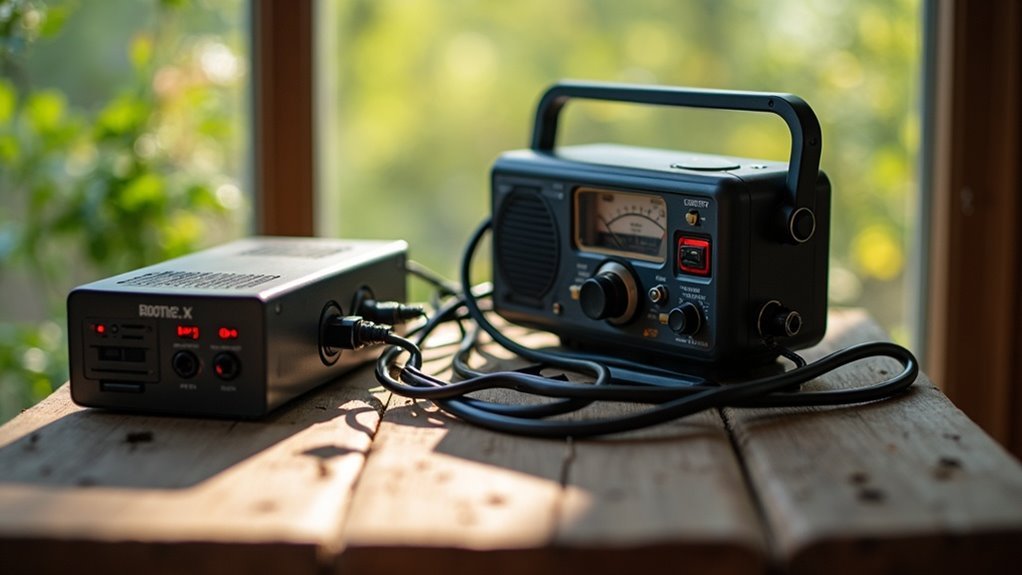
Additionally, include a diode to prevent reverse current flow, a 12V lead-acid battery for energy storage, and a power inverter rated for at least 200 watts to safely convert and use the stored energy.
Basic tools like a hammer, screwdriver, saw, and wrench will be essential for safe assembly and secure connections throughout your project, allowing you to create a reliable energy source for your prepping needs.
Step-by-Step Construction Process
Start by constructing a robust wooden base for your bicycle trainer stand, elevating the bike approximately 5-7 inches off the ground to ensure stability. This height is crucial for effective energy generation in survival situations. Next, securely attach a treadmill motor to the base, aligning it with the bike wheel to efficiently convert pedal energy into electrical power, a valuable resource in off-grid scenarios.
Connect a solar charge controller to the battery, ensuring proper wiring with a diode to prevent reverse current, which can compromise your energy system. Utilize a suitable power inverter rated for your load to convert the stored energy into usable power for devices. Finally, test the generator by pedaling and monitor the battery charge levels with a multimeter to ensure you achieve the desired voltage output for your survival needs.
| Component | Purpose |
|---|---|
| Treadmill Motor | Converts mechanical energy into electricity |
| Solar Charge Controller | Manages battery charge for optimal efficiency |
| Power Inverter | Supplies power to devices in emergencies |
| Multimeter | Monitors battery voltage for safety |
Electrical Connections and Setup
As you assemble the electrical components of your pedal-powered generator, it’s critical to ensure that each connection is accurate and secure to maximize efficiency and safety in your preparedness efforts.
Assembling your pedal-powered generator requires precise connections for optimal efficiency and safety in your preparedness journey.
Follow these steps to ensure reliable charging and protection for your setup:
- Insert a diode in series with the motor and battery, with the cathode facing the positive terminal to prevent reverse current flow, which can drain your battery.
- Connect the negative terminal of the battery to the negative terminal of the motor to maintain a proper circuit.
- Attach the positive terminal of the motor to the anode of the diode, ensuring a one-way current flow to charge your battery effectively.
- Utilize a multimeter to keep an eye on the battery charge, aiming for a voltage range of 13 to 14.5 volts.
Consider incorporating a voltage regulator for enhanced protection against overcharging and to safeguard your power supply during emergencies.
Practical Applications and Efficiency Tips
Pedal-powered generators present a valuable solution for generating electricity in off-grid scenarios or emergencies, making them an essential tool for survivalists and preppers. By utilizing a bicycle trainer, you can efficiently produce electricity while ensuring proper gear ratios and alignment to minimize energy loss.
Strive to generate around 100 watts during intense pedaling, which is sufficient to power small devices critical for survival.
To enhance your setup, incorporate a solar charge controller to effectively manage energy flow and prevent overcharging of your batteries. Additionally, integrating a diode into your connections will safeguard your battery from backflow, ensuring longevity and reliability.
Regular monitoring of the voltage output with a multimeter is crucial; maintain it between 13 to 14.5 volts to ensure effective charging and optimal operation of connected devices. This will empower you to keep essential equipment running, reinforcing your preparedness for any situation.