To build a conductivity meter useful for survival situations, gather incandescent lights, a 9-volt battery, insulated copper wire, and nichrome wire. Design a durable circuit with securely wired connections, incorporating a microcontroller and an LCD display for easy readings. Assemble the probe using exposed nichrome wire, which can withstand rugged conditions. Calibrate it with known ionic solutions, ensuring to rinse it between tests to maintain accuracy. Document bulb brightness to chart conductivity levels across various solutions, which can be essential for assessing water quality in survival scenarios. Continue to explore the calibration process and potential applications for enhanced accuracy, allowing for reliable testing of local water sources in a prepping context.
Key Takeaways
- Gather essential materials such as incandescent lights, a 9-volt battery, insulated copper wire, electrical tape, and nichrome wire for creating your conductivity probe. These items are often found in survival kits or can be sourced easily during prepping.
- Design the circuit with a focus on durable connections between the battery, probe, and microcontroller, ensuring accurate conductivity readings which can be vital for assessing the purity of water sources in survival situations.
- Assemble the conductivity probe using exposed nichrome wire and calibrate it with known ionic solutions to establish baseline conductivity levels, which can help in determining the safety of water for drinking and other needs.
- Conduct tests on various solutions, documenting the brightness of the bulb to compare conductivity, and remember to rinse the probe with distilled water between tests to prevent contamination—a key practice in ensuring safe water in survival scenarios.
- Utilize precise measurements for applications such as water quality testing, agriculture in off-grid living, desalination techniques, and chemical manufacturing, ensuring safety and reliability in your prepping efforts.
Understanding Conductivity and Its Importance
When you measure conductivity, you’re evaluating a solution’s ability to conduct electric current, which largely depends on the ions present.
Understanding conductivity is crucial for survivalists and preppers, as it can help assess the quality of water sources in emergency situations.
Pure water has low conductivity due to a lack of ions, whereas electrolyte solutions, like saltwater, show considerably higher conductivity levels.
By measuring conductivity, you can gain valuable insights into the safety of water for drinking and other uses, as well as identify potential pollution levels.
This knowledge is particularly important in survival scenarios, where access to clean water is vital for health and wellbeing.
Maintaining ideal ionic levels in water can directly impact your ability to stay hydrated and healthy during extended periods of self-sufficiency.
Required Materials and Tools
To build a conductivity meter beneficial for survival situations, you’ll need specific components and tools that can be easily sourced.
Essential materials include incandescent holiday lights, a 9-volt battery, and insulated copper wire for making connections.
Additionally, having items like electrical tape, nichrome wire for the probe, and a wire stripper will ensure a successful assembly process.
These tools can help you assess water quality and other essential resources in a survival scenario.
Essential Components Overview
Building a conductivity meter is a valuable skill for survivalism, as it allows you to assess the quality of water sources for safety and usability. To construct your conductivity meter, you’ll need specific materials and tools that ensure accurate and reliable measurements. A conductivity sensor and conductivity probe are essential, as they directly measure the levels of ionic substances in water.
You’ll require insulated copper wire for secure connections, a 9-volt battery for reliable power, and incandescent holiday lights for testing conductivity. In your survival toolkit, include wire strippers for preparing connections, electrical tape to secure them, and a nonconductive flat object like a craft stick for stabilizing the setup.
For optional enhancements, aluminum foil and stainless-steel screws can be utilized for improved leads. Additionally, prepare ionic solutions such as salty water to test your meter, and ensure you have access to a computer for programming, which can help in refining your measurements and data logging for future reference.
This knowledge is crucial for ensuring you have safe drinking water in survival situations.
Tools for Assembly
Assembling a conductivity meter is an essential skill for survivalists and preppers, as it allows for testing water quality and ensuring safe drinking sources. To construct this device effectively, you’ll need a few key materials and tools. Gather incandescent holiday lights, a 9-volt battery, and a nonconductive flat object like a craft stick for stability during assembly.
For accurate conductivity measurements in various water sources, consider using aluminum foil and stainless-steel screws for leads and connections.
Wire strippers or scissors are necessary for preparing wires, ensuring proper connections. You’ll also need several cups for testing different water samples, with distilled water recommended for rinsing probes to avoid contamination.
Lastly, electrical tape is crucial for securing connections and insulating any exposed wires, preventing short-circuiting and ensuring the device operates reliably in critical situations. These tools and materials will help you build a dependable conductivity meter, contributing to your preparedness and self-sufficiency in the wild.
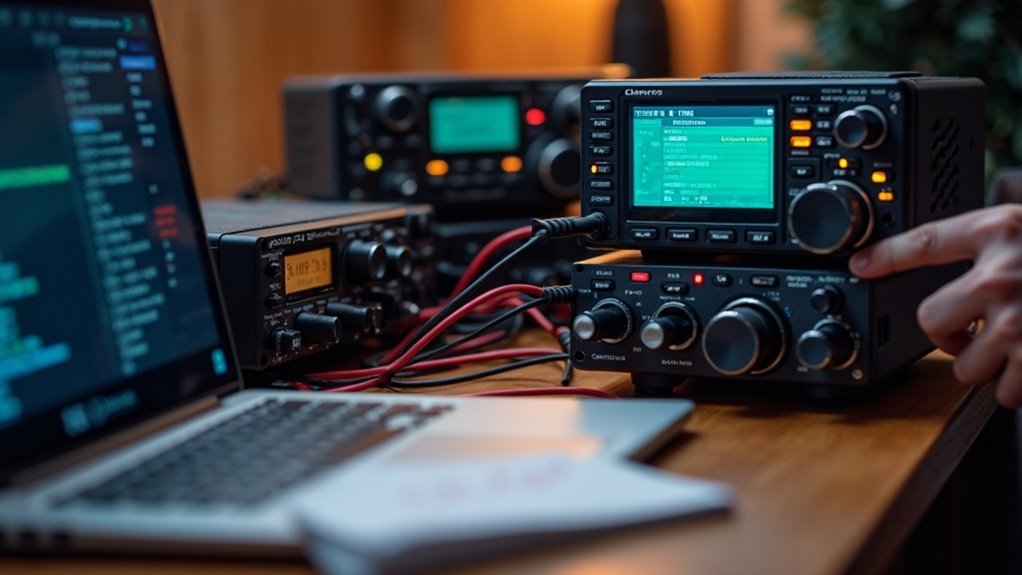
Designing the Circuit
When designing the circuit for your conductivity meter in a survival or prepping context, it’s crucial to gather essential components, such as a reliable conductivity probe, a resilient microcontroller, and a durable power supply.
Next, establish robust wiring connections that ensure accurate signal transmission while protecting your components from the elements.
Lastly, pay close attention to the power supply specifications, as having a dependable voltage source is vital for consistent operation in challenging environments.
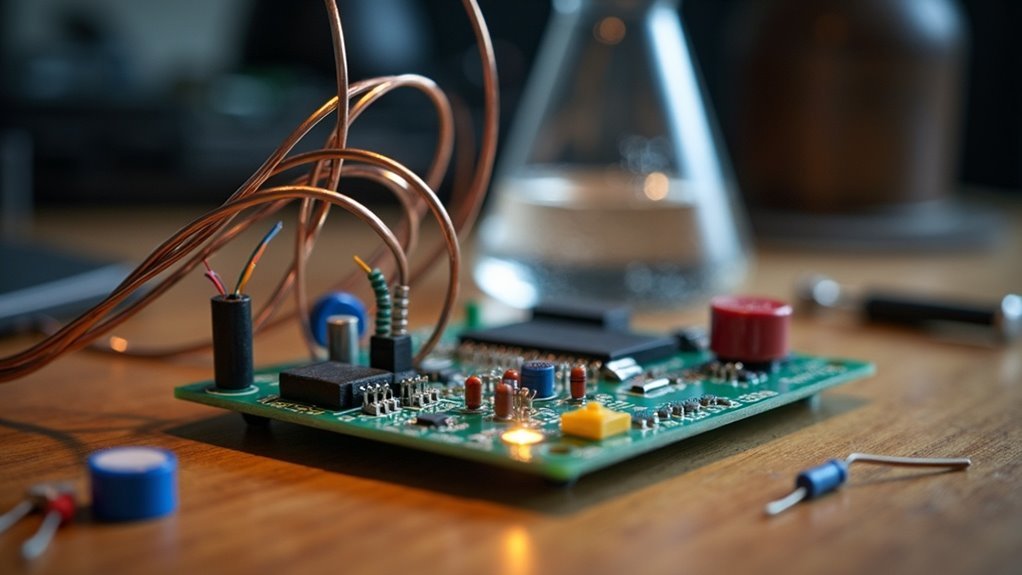
Circuit Components Required
To create a reliable conductivity meter for survival situations, you’ll need several essential components that work in harmony to provide accurate measurements of water quality. This is crucial for determining the safety of your water sources in a survival scenario.
Here are the key components you’ll need:
- A 9-volt battery to power your circuit, ensuring you have a portable and reliable energy source.
- Copper or stainless steel probes as electrodes for measuring conductivity, which are durable and can withstand outdoor conditions.
- A light-emitting diode (LED) with a 470 Ω resistor to visually indicate conductivity levels, helping you quickly assess water quality.
Incorporating an Arduino microcontroller can further enhance your device’s functionality, allowing you to process measurements and display them on an LCD for clear and precise readings.
Each component plays a crucial role in ensuring accurate results that can aid in making informed decisions about water safety during your prepping and survival endeavors.
Wiring Connections Explained
While preparing your conductivity meter circuit for survival applications, it’s crucial to ensure that all wiring connections are secure and properly configured to prevent failures in critical situations.
Begin by connecting a 9V battery with insulated copper wire to avoid any risk of short-circuiting during emergencies. Solder the aluminum leads to the incandescent bulb, ensuring that the longer lead connects to the battery’s positive terminal for reliable operation.
Utilize a breadboard to assemble your circuit, which should include a LED, a 470 Ω resistor, and the conductivity probe to help visualize changes in the solution’s conductivity, which could be vital for testing water quality.
Finally, connect the Arduino to the LCD display, double-checking all wiring connections and adjusting the trimpot for optimal visibility before conducting tests. This setup can be an essential tool in your prepping kit for ensuring safe water supplies in survival scenarios.
Power Supply Considerations
Selecting the right power supply is crucial for the effective operation of your conductivity meter circuit, especially in survival situations. Aim for a stable supply between 3V to 12V to ensure reliable performance in the field.
Here are key considerations for prepping:
- Use a 9V battery for portability, which can power incandescent bulbs effectively during emergencies where conventional power sources are unavailable.
- Incorporate adjustable voltage regulators to maintain a constant output, vital for accurate measurements when assessing water quality or other essential parameters in survival scenarios.
- Choose the appropriate wire gauge to minimize resistive losses and overheating, particularly in high current applications where efficiency is critical to conserve battery life.
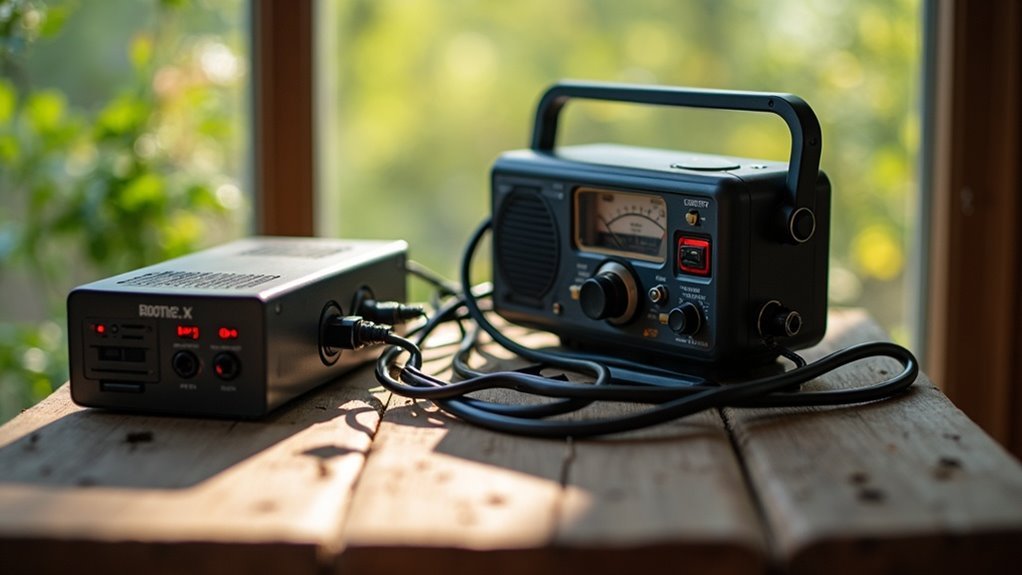
Constructing the Conductivity Probe
Constructing a conductivity probe can be a valuable skill for survivalists, as it allows for the measurement of water quality and salinity, which are crucial for determining safe drinking sources.
To build one, start by soldering wires together and attaching nichrome wire to a nonconductive object, ensuring a small gap at the tip for solution contact. Use electrical tape to insulate connections, securing the assembly while leaving a portion of the nichrome wire exposed for conductivity measurement.
The probe should measure the resistance of solutions, with the understanding that higher ion concentrations yield lower resistance and higher conductivity. This knowledge can help you assess the safety and quality of different water sources.
Be sure to rinse the probe with distilled water between tests to avoid contamination, ensuring reliable readings across various solutions.
This DIY project not only enhances your survival skills but also empowers you to make informed decisions about water safety in the field.
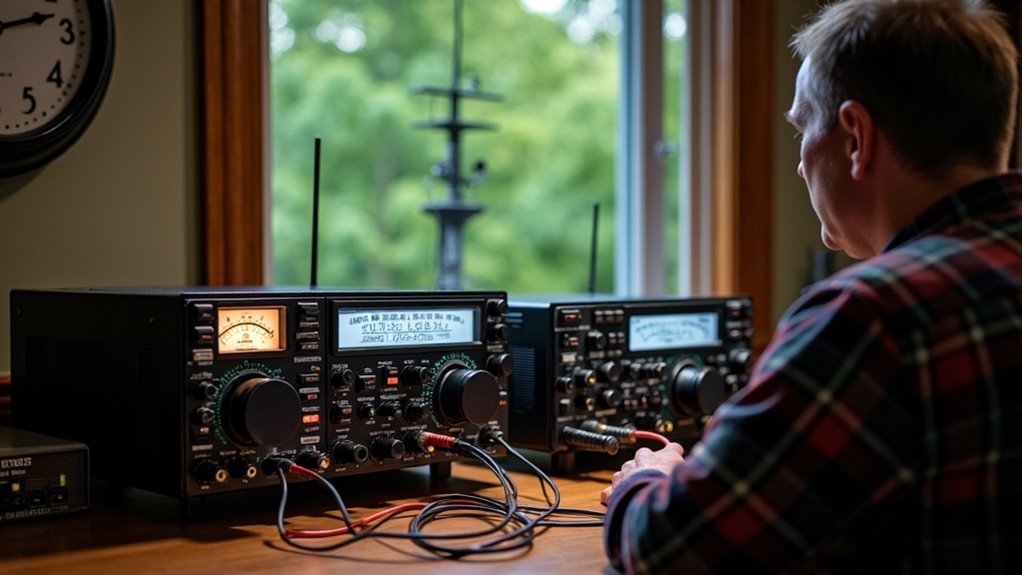
Calibration and Testing
To ensure reliable readings from your conductivity meter, especially in a survival or prepping context, it’s crucial to calibrate it using known ionic solutions of varying concentrations.
Here’s how to effectively calibrate your meter:
- Start by testing with a saltwater solution to establish a baseline conductivity level. This simulates real-world conditions you may encounter.
- Use distilled water as a control measure to confirm that your meter is registering minimal conductivity, ensuring that your readings remain accurate.
- Rinse the probe with distilled water between tests to prevent cross-contamination and maintain the integrity of your measurements.
Document the bulb brightness for each solution, creating a comparison chart that correlates brightness to conductivity levels.
This information can be vital for assessing water quality in survival situations. Regularly retest with standard solutions to account for any drift in your device’s readings, and adjust the calibration as necessary.
This practice ensures you have the most accurate measurements for water conductivity, an essential factor in ensuring safe drinking water during your preparedness efforts.
Applications of Conductivity Meters
Once you’ve calibrated your conductivity meter, understanding its applications can significantly enhance your preparedness and decision-making in survival situations. Conductivity meters are vital tools for preppers, aiding in various fields from evaluating water quality for safe drinking to optimizing agricultural practices for sustainable food production. They measure the concentration of charged particles in water, providing crucial insights about potential pollutants and overall ecosystem health, which is essential in wilderness survival scenarios.
In agricultural settings, conductivity meters help manage soil salinity, ensuring that crops thrive and preventing damage that could jeopardize food security. During emergency situations, desalination processes rely on conductivity measurements to efficiently monitor salt levels in water sources, making it possible to convert seawater into drinkable water. Environmental monitoring is another critical application, as these meters detect contamination in potential water supplies, safeguarding health and safety. In chemical manufacturing, maintaining precise ionic control is vital for ensuring product quality, which can be essential for creating safe and effective solutions in survival kits.
| Application | Importance | Field |
|---|---|---|
| Water Quality Testing | Detects pollutants for safe drinking water | Environmental Science |
| Agriculture | Optimizes irrigation; ensures food security | Agriculture |
| Desalination | Monitors salt levels for potable water | Water Treatment |
| Chemical Manufacturing | Ensures safety and quality of survival products | Industrial Processes |