To enhance the safety of your windows for survival and prepping purposes, begin by thoroughly cleaning the glass and removing any accessories. Measure and cut the safety film, leaving an extra 2 inches on each side for a secure fit. Next, spray soapy water on the window to facilitate easier application, and carefully align the film. Use a squeegee to eliminate air bubbles and ensure a tight seal. Trim any excess film and seal the edges to prevent peeling. Allow the film to dry completely for optimal adhesion. This process not only strengthens your windows against breakage but also adds an extra layer of security for your preparedness measures.
Key Takeaways
- Ensure your windows are clean and free of any accessories before applying safety film; this will enhance adhesion and prevent potential vulnerabilities.
- Measure and cut the safety film accurately, allowing for extra material to make necessary adjustments during installation, ensuring maximum coverage and protection.
- To facilitate easy positioning and smooth application of the film, apply a soapy water solution on the glass; this method is crucial in emergency situations where quick adjustments may be necessary.
- Use a squeegee to eliminate air bubbles and wrinkles, guaranteeing a smooth application that maintains visibility and security.
- Finally, seal the edges of the film with a durable sealant to enhance longevity and protect against wear, ensuring your windows remain a strong line of defense in any survival scenario.
Step 1: Preparation
Before you start applying safety film to your windows as part of your prepping strategy, it’s essential to prepare the surface properly.
Begin by thoroughly cleaning the windows to remove all dirt, dust, and debris. This ensures a smooth surface for the film application, which is crucial for maximizing safety in emergency situations.
Thoroughly clean your windows to ensure a smooth surface for safety film application, maximizing protection in emergencies.
Don’t forget to remove any window accessories, like stickers or adhesives, to prevent interference during installation. Make sure the windows are completely spotless and dry, as any residue can compromise the film’s effectiveness.
Use a drop cloth to cover surrounding areas, protecting them from potential spills during the process.
Finally, prepare a soapy water solution to aid in the application, allowing for easier manipulation of the window film on the surface, ensuring your home remains fortified against potential threats.
Step 2: Measuring and Cutting
Accurate measurements are crucial for a successful application of safety film, especially in a survival situation where every detail matters. Grab your measuring tape and start by measuring the length and width of each window in your shelter or safe space. Cut the film approximately 2 inches larger on each side to account for adjustments during application. Clearly record your measurements to avoid any confusion in a high-stakes environment.
| Measurement Type | Window Size |
|---|---|
| Length | [Enter Size] |
| Width | [Enter Size] |
Use a heavy-duty utility blade for clean cuts; this minimizes jagged edges that could compromise the film’s effectiveness. Before placing the film, always spray the window with a film solution to reduce friction, making it easier to position the excess film accurately. This attention to detail can enhance your safety and security in uncertain times.
Step 3: Applying the Film
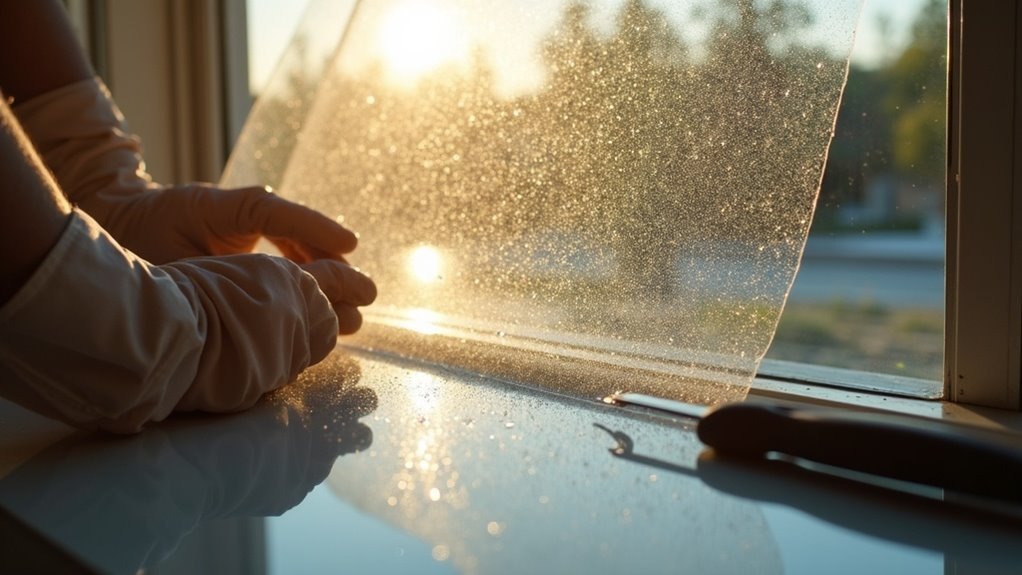
Start by spraying a soapy water solution onto the glass surface to make positioning the safety film easier.
Carefully align the film on the window, ensuring it’s perfectly positioned before making any adjustments.
Once aligned, use a squeegee-like tool to smooth out the film, starting from the center and moving outward to eliminate air bubbles effectively.
If you notice any wrinkles, gently lift and reapply the film immediately to maintain its visual and functional integrity.
Step 4: Trimming and Finishing
Trim excess film carefully using a utility blade or a specialized cutting tool to achieve a clean and precise fit along the edges of the window.
Hold the blade at a 45-degree angle while trimming to prevent damage to the glass or jagged edges.
Hold the trimming blade at a 45-degree angle to avoid damaging the glass or creating jagged edges.
Once trimmed, seal the edges of the film with a durable sealant to protect against wear and moisture intrusion, which is crucial for maintaining your preparedness in any environment.
Inspect the film for remaining air bubbles or wrinkles, addressing any imperfections to enhance its appearance and functionality.
Finally, perform a thorough cleaning of both the window and film surface to ensure optimal visibility and effectiveness, essential for any survival situation.
Step 5: Drying and Curing
Once you’ve applied the safety film to your windows, it’s crucial to allow for a proper drying and curing period to ensure the film adheres effectively.
This phase can take a few days to a week, depending on environmental conditions, which is particularly important for survival situations where window integrity is vital. High humidity or low temperatures may extend this time, so monitor these factors closely.
Avoid touching the film during the curing process, as contact can disrupt adhesion and compromise your window’s protective capabilities. You may notice slight moisture buildup initially, but rest assured it will evaporate.
Ensuring good ventilation around the windows won’t only aid in the drying process but also enhance the film’s longevity, providing an extra layer of security for your home in times of uncertainty.
Recommended Tools for Installation
Having the right tools on hand is crucial for a successful survival and prepping project. You’ll need a heavy-duty utility blade for precise cutting, a squeegee to remove air bubbles, and a drop cloth to keep your workspace clean. A film solution is important for easy handling, while a hand applicator helps align the film properly. Finally, keep a specialized sealant handy to guarantee the film edges are secure.
| Tool | Purpose | Notes |
|---|---|---|
| Utility Blade | Precise cutting | Ensure it’s sharp for clean edges |
| Squeegee | Remove air bubbles | Apply with gentle pressure |
| Drop Cloth | Protect surfaces | Prevents debris from interfering |
| Film Solution | Facilitates handling | Spray on the surface for easier application |
| Hand Applicator | Accurate alignment | Ensures smooth application against edges |
Post-Installation Care
Post-Installation Care
After you’ve installed the safety film, it’s crucial to take proper care of it to ensure maximum effectiveness and longevity, especially in a survival situation.
Here are some essential post-installation care tips:
- Reapply a light mist of film solution and use a squeegee to remove any residual moisture or dirt, ensuring clarity and secure adhesion—important for maintaining visibility in emergency scenarios.
- Expect slight moisture buildup initially; this is normal and will dissipate within a few days. This is particularly relevant if you’re in a survival situation where clear visibility is vital.
- In colder climates, allow for additional drying time, as lower temperatures can extend the film’s curing period. This can affect your preparedness by ensuring that your film is ready for use when needed.
Regularly inspect the film for any signs of wear or damage to maintain its protective qualities and appearance, ensuring your environment remains secure and safe.
Professional Window Security Film Installation
When it comes to enhancing your home’s security as part of your survivalist strategy, applying window security film is a vital step.
Professional installation is crucial to ensure maximum effectiveness and durability, protecting your home against potential threats. The right tools, such as a squeegee, utility knife, and measuring tape, are essential for achieving a precise fit that enhances safety and prevents peeling.
Importance of Professional Installation
While you might consider installing safety film on your own, opting for professional installation can significantly improve the film’s effectiveness and durability, especially in a survivalist context.
Here’s why hiring experts is a prudent choice for your preparedness strategy:
- Precision Measurements: Professionals ensure accurate cuts, which are crucial for optimal adhesion and performance in emergency situations.
- Flawless Finish: They expertly minimize air bubbles and wrinkles, ensuring the film provides reliable protection against potential threats.
- Tailored Solutions: Experts evaluate your windows and surroundings, maximizing safety benefits to enhance your overall preparedness and security.
Tools Required for Installation
For a successful installation of window safety film in a survival or prepping context, having the right tools on hand is essential to ensure your home remains secure.
You’ll need a heavy-duty utility blade or a specialized cutting tool for precise cuts, which can also double as a vital survival tool. A squeegee will help you smooth out the film and eliminate air bubbles, ensuring a clear view while maintaining your safety.
A spray bottle filled with soapy water aids in proper film placement and can be useful for other tasks around the homestead. Don’t forget a low-lint cloth to clean the window beforehand, as visibility is key in emergency situations.
A drop cloth will catch any spills, preventing messes that could attract unwanted attention. A hand applicator guarantees accurate alignment, and using a specialized sealant at the edges enhances durability, protecting against wear and tear over time—vital for long-term preparedness.